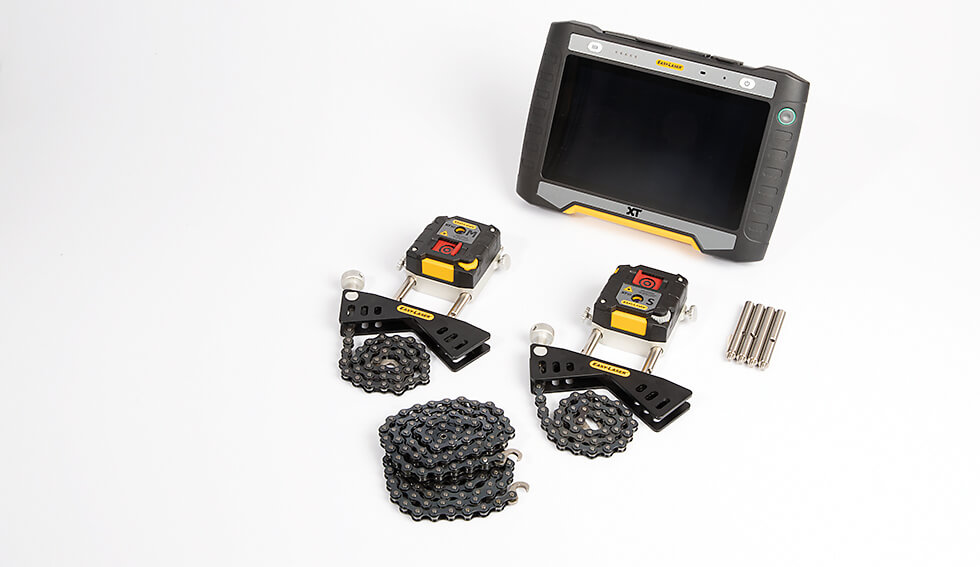
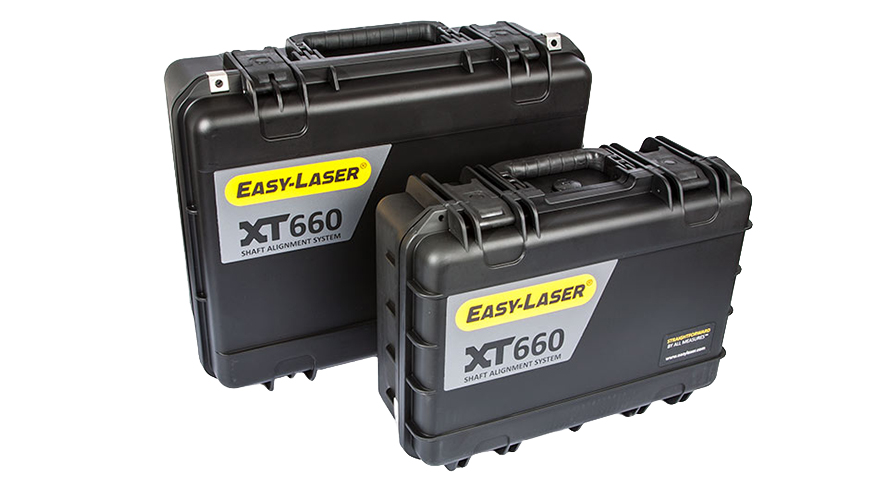
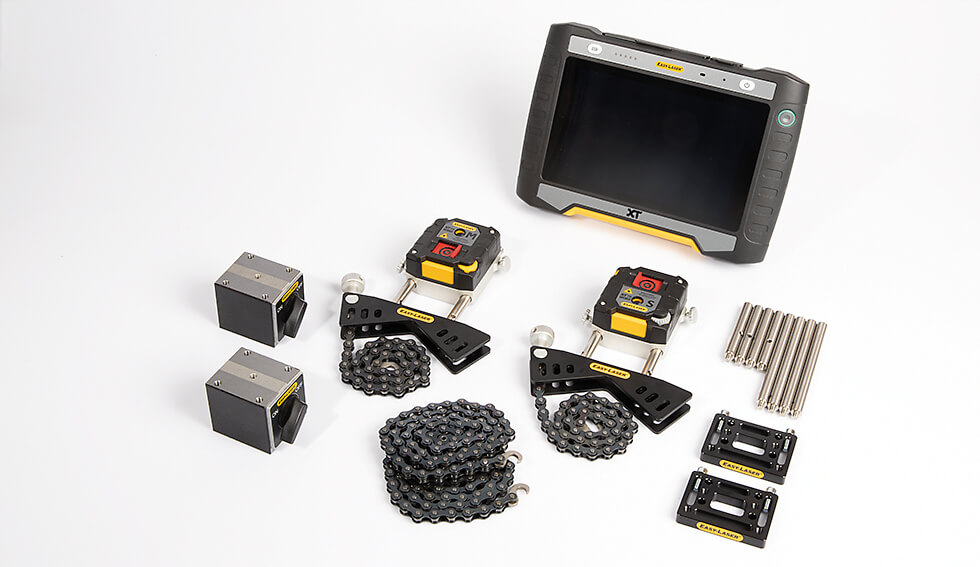
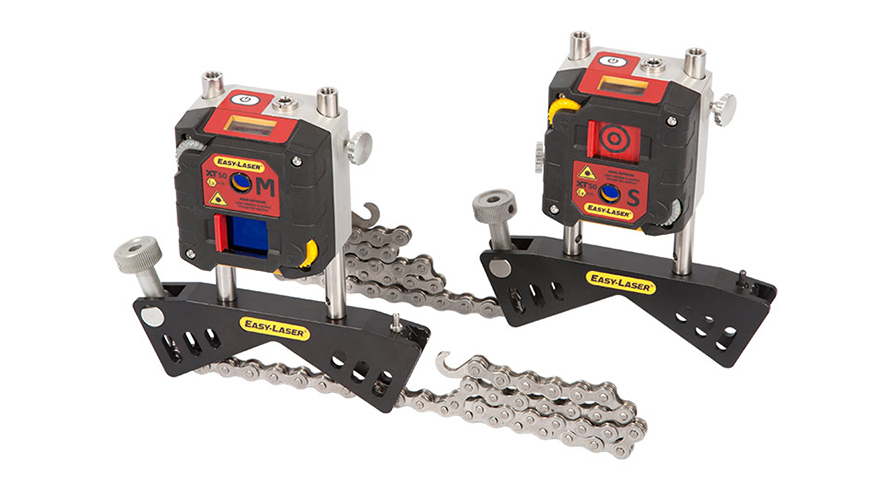
Easy-Laser XT660 is the second member of our Generation XT alignment systems, built upon our new cross-platform technology. This means you will be able to display data on a multitude of different handheld devices, including our own XT11.
Easy-Laser XT660
more possibilities with dot laser


Easy-Laser XT660
Applications
With XT660 you can carry out the following:
- align the machine
- *check base twist
- check bearing play
- check soft foot
- document and share the results
The key to a quick and reliable measurement is programs that guide you through the measurement process. The Easy-Laser? systems support you with smart functions and a clear user interface. Still, it is not our products that do the job, but you as a professional technician!
- Horizontal machines
The user interface is intuitive and guides you through the measurement process. It is animated and zooms into the most important things for each step. You can save the measurements of a machine for As found and As left in the same file.
- Vertical/flange-mounted machines
For measurement and alignment of vertical and flange mounted machines.
- Machine train (3 machines)
For alignment of machine trains with three machines. You can pick the reference machine manually, or let the program choose one that will minimize the need for adjustments.
- Twist measurement
Program to measure flatness/twist of, for example, machine foundation, machine tables, etc.
- Continuous sweep
Automatic recording of measurement values during continuous sweeping of the shaft. Hundreds of points are registered. You can start anywhere on the turn. Quality check of measurement is provided.
- EasyTurn and multipoint
With the EasyTurn function, you can start measurement anywhere on the turn. Turn the shafts with the measuring units to three positions in any direction with as little as 20° between to register the measurement value. Measurement is complete! For advanced applications, such as turbines, there is a Multipoint function where any number of measuring points around the whole or part of the rotation can be registered.
- Wide live adjustment
Adjust with live values also when measuring units are positioned up to 44° from absolute V and H positions.
- Soft foot check (Both machines)
Alignment work begins with a soft foot check. The soft foot check ensures that the machine is resting evenly on all its feet by indicating which foot/feet should be adjusted. This is an important part of securing a reliable alignment. After the soft foot check is complete, you can go directly to the alignment program with all of the machine’s distance values saved.
- Values – digital dial indicators
The Values program has a clear digital representation of the laser target and a list view for recorded values. Use it to measure as with dial gauges and to check bearing play.
- Belt alignment
Using the system you can align sheaves and pulleys with digital precision. Adjustment of the machines is displayed in real-time on the screen, with readings for angle and axial displacement in both the vertical and horizontal axes, as well as an adjustment value for the front or rear foot pair. The result can be documented as normal. (Requires the XT190 BTA accessory.)
- Vibration analysis
Diagnose vibration level, unbalance, misalignment and looseness. (Requires the XT280 accessory.)
- Built-in manual
The app includes a searchable Users Manual which opens the right chapter depending on where in the process you are. This makes it quick and easy to find the answer to your user questions.
- Locked feet
Lock any pair of feet on the machine. Used when aligning base-bound or bolt-bound machines.
- Select coupling type
Choose a method depending on the coupling type: short flex or spacer shaft.
- Select machine image
Choose from different 3D machines to portray your machinery on either side of the coupling.
- Tolerance check
Measurement results can be checked against pre-defined tolerance tables or values you determine yourself. This allows you to immediately see if the alignment is within the approved parameters, thereby considerably reducing the amount of time spent on alignment. The system includes a tolerance table that follows the new ANSI/ASA S2.75-2017 standard. Read more about the standard here.
- Mirror machine image
The mirror view function allows you to adjust the position of the motor on the screen to correspond with the position of the machine in front of you, making it easier to understand adjustment directions.
- Continue session
Your latest measurement is always available and automatically saved.
- Templates
Save measurement files as templates, with machine data and settings, to quickly start measurements.
- Read QR and bar codes
Assign a specific code to a specific machine, then use the built-in camera of your device to open the assigned file and settings. (Note: camera resolution requirements applicable.)
- Signing reports electronically
Sign-on screen to verify your job. The signature is saved with the PDF file.
- Thermal growth compensation
Oftentimes machines expand considerably when moving from a cold to a hot operating temperature. The Thermal Growth Compensation function allows the measurement system to calculate the appropriate shims and values needed to make adjustments in such cases. Compensation values for the machines are normally supplied by the manufacturers.
- Measurement value filter
An advanced electronic filter function can be used to achieve reliable results even under poor measuring conditions. Air turbulence and vibrations from adjacent machines are no match for the Easy-Laser filter function!
- Multiple sets of feet
The software can adjust to machine designs of all types such as those with two pairs of feet, three pairs of feet, and feet in front of the coupling, etc.
Features
- Robust, rubber-coated design, IP66/67.
- Large 8″ glove-enabled touch-screen.
- Screen-lock button.
- OLED display shows the battery status.
- IR Camera for thermal images (optional).
- 16 hours of operating time.
Contact
Interested in our offer?
Write to us


